
Tired of looking through hundreds of cards at the store and still don’t find anything you really like? Or you find one that you do like but you flip it over to check the price and WOO it’s way more than you want to pay for a card that is probably going to be thrown away shortly after it’s read. Me too!
So, why not make your own?
It’s low cost. It’s fun. It’s simple. And it let’s you use your creativity. I’m going to share with you a few DIY cards that can be used for multiple occasions such as Thank You Cards, Note Cards, and Birthday Cards.
Watercolor Cards
Supplies
- Watercolor paints
- Paint brush
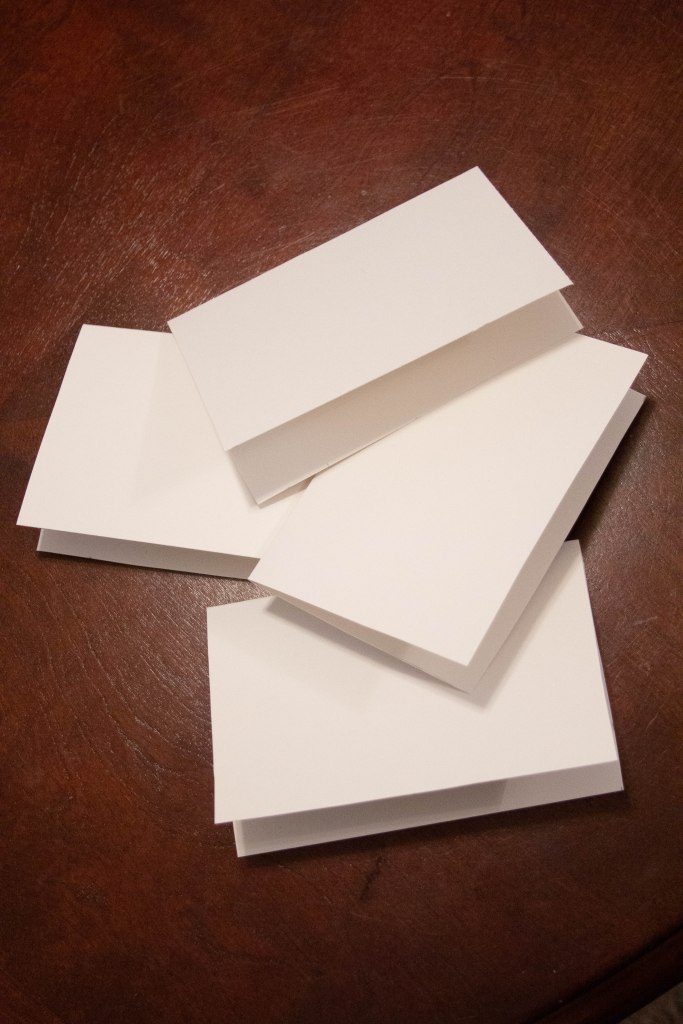
- Card stock
- Scissors
- Ruler
Watercolor lines
- Measure and cut your card stock. Let’s say you want your card to be a 4×6. Then you need to measure and cut your card stock to be 8×6, and then fold it down the middle so that it’s now a 4×6 card.
- Pick out what color you want to use and lightly paint the whole front of your card.
- Let it dry a little bit and then add another layer of the color.


- Continue to let the card dry and then adding another layer.
- Remember do not use too much water because you don’t want your card to warp or soak through your card.


- You’ll notice some of my watercolor got inside my card, which I don’t mind, but if you don’t want paint on the inside of your card you can use some masking tape to cover your inside edges or you can place a piece of paper in the card to cover the edges.